Almost nothing! (yes, I'm sure there's other things a person wants such as a new car or a zillion dollars. But realistically, what can trump something homemade and sweet?)
My friend's birthday is next week, but since I don't get to see her much since our "life schedules," don't match up, I want to surprise her with a box of cupcakes special just for her. You won't believe how difficult it is to pull information out of someone just to do a little secret surprise for them. I asked her "Wumbo," (Spongebob Squarepants lingo is appropriate here. I mean, come on, "Wumbology? The study of Wumbo? It's first grade!") sized questions dealing with her taste buds and what pleased them. Finally after asking my friend all these questions, which made her arch her eyebrows at me a bit, I got what flavor she loves.
Chocolate.
I decided a few days ago after the "questioning," that delectable moist chocolate cupcakes were the way to go for the birthday gift. However, I didn't know what recipe I should use or where to even find one.
TA-DA!
Luckily, Pinterest has my crafty and bake savvy needs at all time. I sat up all night sifting through pins, every single one more appealing to my eyes than the next. Then, I finally found one! The pin is linked to Laura's Sweet Spot a blog dedicated to every tooth pleasing baked good imaginable, and is quite the source for anything food oriented (there's sections for breakfast, appetizers, and even pastas and soups). Even though I did want to make a chocolate coated dessert for my friend, I did have motives for it being a cupcake.
Enter my handy dandy "Babycakes: Cupcake Maker," that makes bite sized cupcakes within 8 minutes, and is the other Babycakes maker I have in my arsenal of baking tools. The Cupcake Maker costs $29.99 at Michael's Arts and Crafts, but if you use a coupon on it (which I did, and did I mention there's a 40% coupon on the Michael's app right now?), the price is around $19.99 and it's completely worth it.


Today, using my time off wisely, I went to my job (which is Michael's Arts and Crafts) and bought the following items:
1. 3 Pack Cupcake Boxes- $4.99
2. Disposable Icing Bags- $4.99
3. Decorative Doily Cupcake Liners in Black and Pink- $3.99
4. Chocolate Sprinkles- $2.29
After my trip to my job, and a quick run to the grocery store, I got to work making the perfect Chocolate Cupcakes. However, as I looked at the recipe for the cupcakes, I noticed a few odd things. First, the recipe called for vinegar. Yes, vinegar. I decided not to argue with the ingredient and buy it anyway (since I am a recipe snob, I don't often stray from the ingredients in cooking or baking). Finally, the name of the cupcakes didn't fit too well. "Ultimate Chocolate Cupcake," seemed off for me. Nothing can truly be ultimate (not unless you're Thor or another member of the Avengers, but believe me. Thor, Tony, and the always dashing Steve Rogers weren't baking with me in my kitchen...but a girl can dream...). Then I decided, why not change the name? I walked through the aisles of the grocery store, looking for cocoa with Dutch processing, and I wandered through the store for quite a while until the cocoa finally fell into my sight.
BING! That's the name right there!
I christen these cupcakes the "Coco Bandit Cupcakes," and here's how I made them:
Coco Bandit Cupcake Recipe:
(This recipe was found through Pinterest and linked to Laura's Sweet Spot Blog, all credit for the recipe goes to this marvelous lady)
{What You'll Need}
*3 ounces Semi Sweet Chocolate Chips, chopped fine
(The original recipe called for "bittersweet," but my friend prefers "semi sweet,")
*1/3 cup (1 ounce) Dutch-processed cocoa
(I used Hershey's Special Dark Chocolate cocoa with Dutch processing)
*1/4 cup Hot Coffee
(the recipe originally calls for 3/4, but I didn't want the coffee flavor to overwhelm my friend)
*1/2 Hot Water
*3/4 Flour
*3/4 cup Granulated Sugar
*1/2 Teaspoon Table Salt
*1/2 Teaspoon Baking Soda
*6 Tablespoons Vegetable Oil
*2 Large Eggs
*2 Teaspoons White Vinegar
*1 Teaspoon Vanilla Extract
{Instructions}
1. Plug in your Babycake's Cupcake Maker, make sure it is away from your mixing station. You'll know it's ready for use once the green light turns on, and you don't need to use non stick spray since the tin is already non stick
2. Melt chocolate chips for 1 minute, then mix chocolate chips to make it soften in microwave proof cup or bowl.
3. Pour melted chocolate into bowl with 1/3 cocoa.
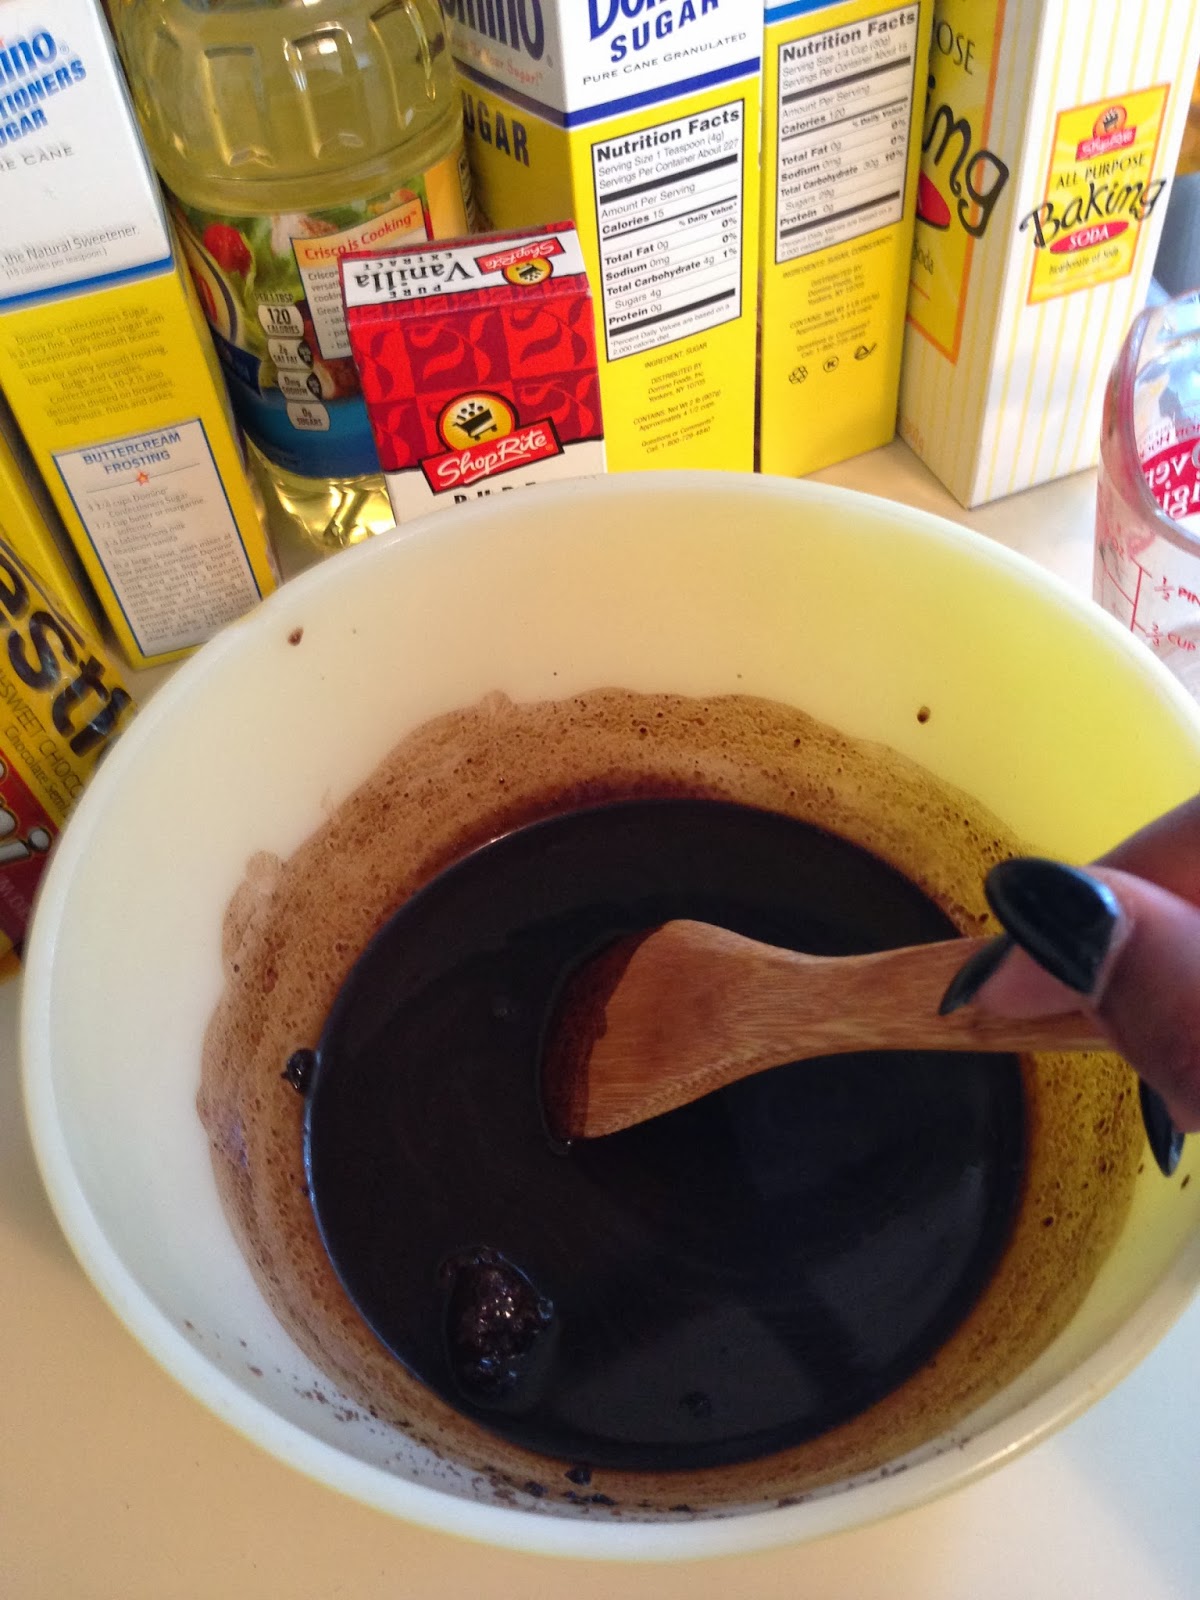
4. Pour 1/4 cup of hot coffee and 1/2 hot water into bowl with melted chocolate chips and cocoa, mix until smooth like below:
5. Set bowl with coffee, water, melted chocolate chips, and cocoa mixture in refrigerator to chill for 20 minutes.
6. Stir 3/4 Flour, 3/4 cup Granulated Sugar, 1/2 Teaspoon Table Salt, and 1/2 Teaspoon Baking Soda together in a new bowl like so:

7. Take out the chocolate mixture from the refrigerator after the 20 minutes are up.
8. Add 6 Tablespoons Vegetable Oil, 2 Large Eggs, 2 Teaspoons White Vinegar, and 1 Teaspoon Vanilla Extract into the chocolate mixture, and mix until the consistency is smooth such as:


9. Now, add the flour mixture, and mix until smooth like this:


10. Then, take your cupcake liner, and put it into the Babycake's Cupcake Maker tins.
(Note: I ended up using the white cupcake liners that came with the Maker because the one's I brought were too big! But, I still got to use the black lacy liners for the second part of my cupcake decorations)

11. Scoop or ladle the chocolate batter (can't you smell it now? The scent is rich with cocoa, and you can just taste it in your mouth and it's beyond irresistible) into your measuring cup. Pour the batter into the cupcake liners inside of the Babycake's Cupcake Maker.

12. The cupcakes will be done after 8 minutes at most, use a toothpick by pricking it through the cupcake. Make sure there isn't any batter on the toothpick. If not, they're perfect and ready to get out of the Maker like mine:

Here are my cupcakes, I made 23 in total, and double lined them after they were finished cooking using the black doily liner in my liner pack (a few of the cupcakes are missing from the picture because I have to freeze them, but I'll tell you more later):

Now, you can't possible have cupcakes without frosting, so I decided to use the "Chocolate Buttercream Frosting," Recipe found on the lovely Laura's blog mentioned before. Here's how to make them:
Chocolate Buttercream Frosting Recipe:
(As stated before, recipe found through link on Pinterest that lead to Laura's Sweet Spot Blog)
{What You'll Need}
*2 Sticks Unsalted Butter at room temperature
*3 cups Confectioners Sugar
*1/2 cup Cocoa powder
(To stick to the Hershey theme, I used Hershey's Unsweetened Cocoa Powder)
*1/2 teaspoon Table Salt
*2 teaspoons Vanilla Extract
*4 tablespoons Milk
{Instructions}
1. Cream 2 sticks of butter with mixer for a few minutes until smooth.
2. Sift the confectioners sugar and cocoa into the bowl containing the butter, and mix with the mixer until the sugar and cocoa become apart of the butter.
3. Add vanilla extract, milk, and salt into the bowl, then beat the mixtures for 3 minutes. It should look like this (take a taste, it's so amazing how you can taste the cocoa and sugar separately yet at the same time):

Frosting the Bandit Cupcakes:
1. Take one of the disposable icing bags.
2. Use an ice cream scoop or large spoon to fill up the bag.
3. Twist the top of the bag, and squeeze the icing down to the closed bottom.
4. Cut the bottom tip, make it a decent opening, not big, but enough for an even flow of icing to come out.
5. Take your cupcake, and swirl the icing on, apply pressure and circle like it's a swirl. This is the result:

6. Then add sprinkles!
Here's the final result of my cupcakes:

I put away a few of my friend's cupcakes in the freeze for later. I'm not going to see her until late tomorrow night, for a fun night at a lounge, and it is best to put your cupcakes (unfrosted) in a freezer to preserve moisture. However, I packed a few for my other friend who's birthday passed a few days ago (sorry! I totally forgot!). Here's what her cupcake's look like in the box I bought at my job ready to go once I see her tomorrow mourning:

The texture of the frosting is fluffy and smooth once you bite into it, the cupcake is cute, moist, and bursting with chocolate tones. The sprinkles add texture, and there's subtle hints of coffee, but no vinegar is tasted in the cupcake! I'm so happy with this cupcake, and it's the perfect Coco Bandit of all cupcakes!
What do you think of the recipe? Do you know a better cupcake recipe? Was the recipe helpful? Do you plan to make yourself some Coco Bandit Cupcakes? Don't be shy, tell me!
Love Always, LoneStyle Tribe


